The Task!
To design and animate something captivating and distinguishable as me, taking the viewer on a journey through my body of work.
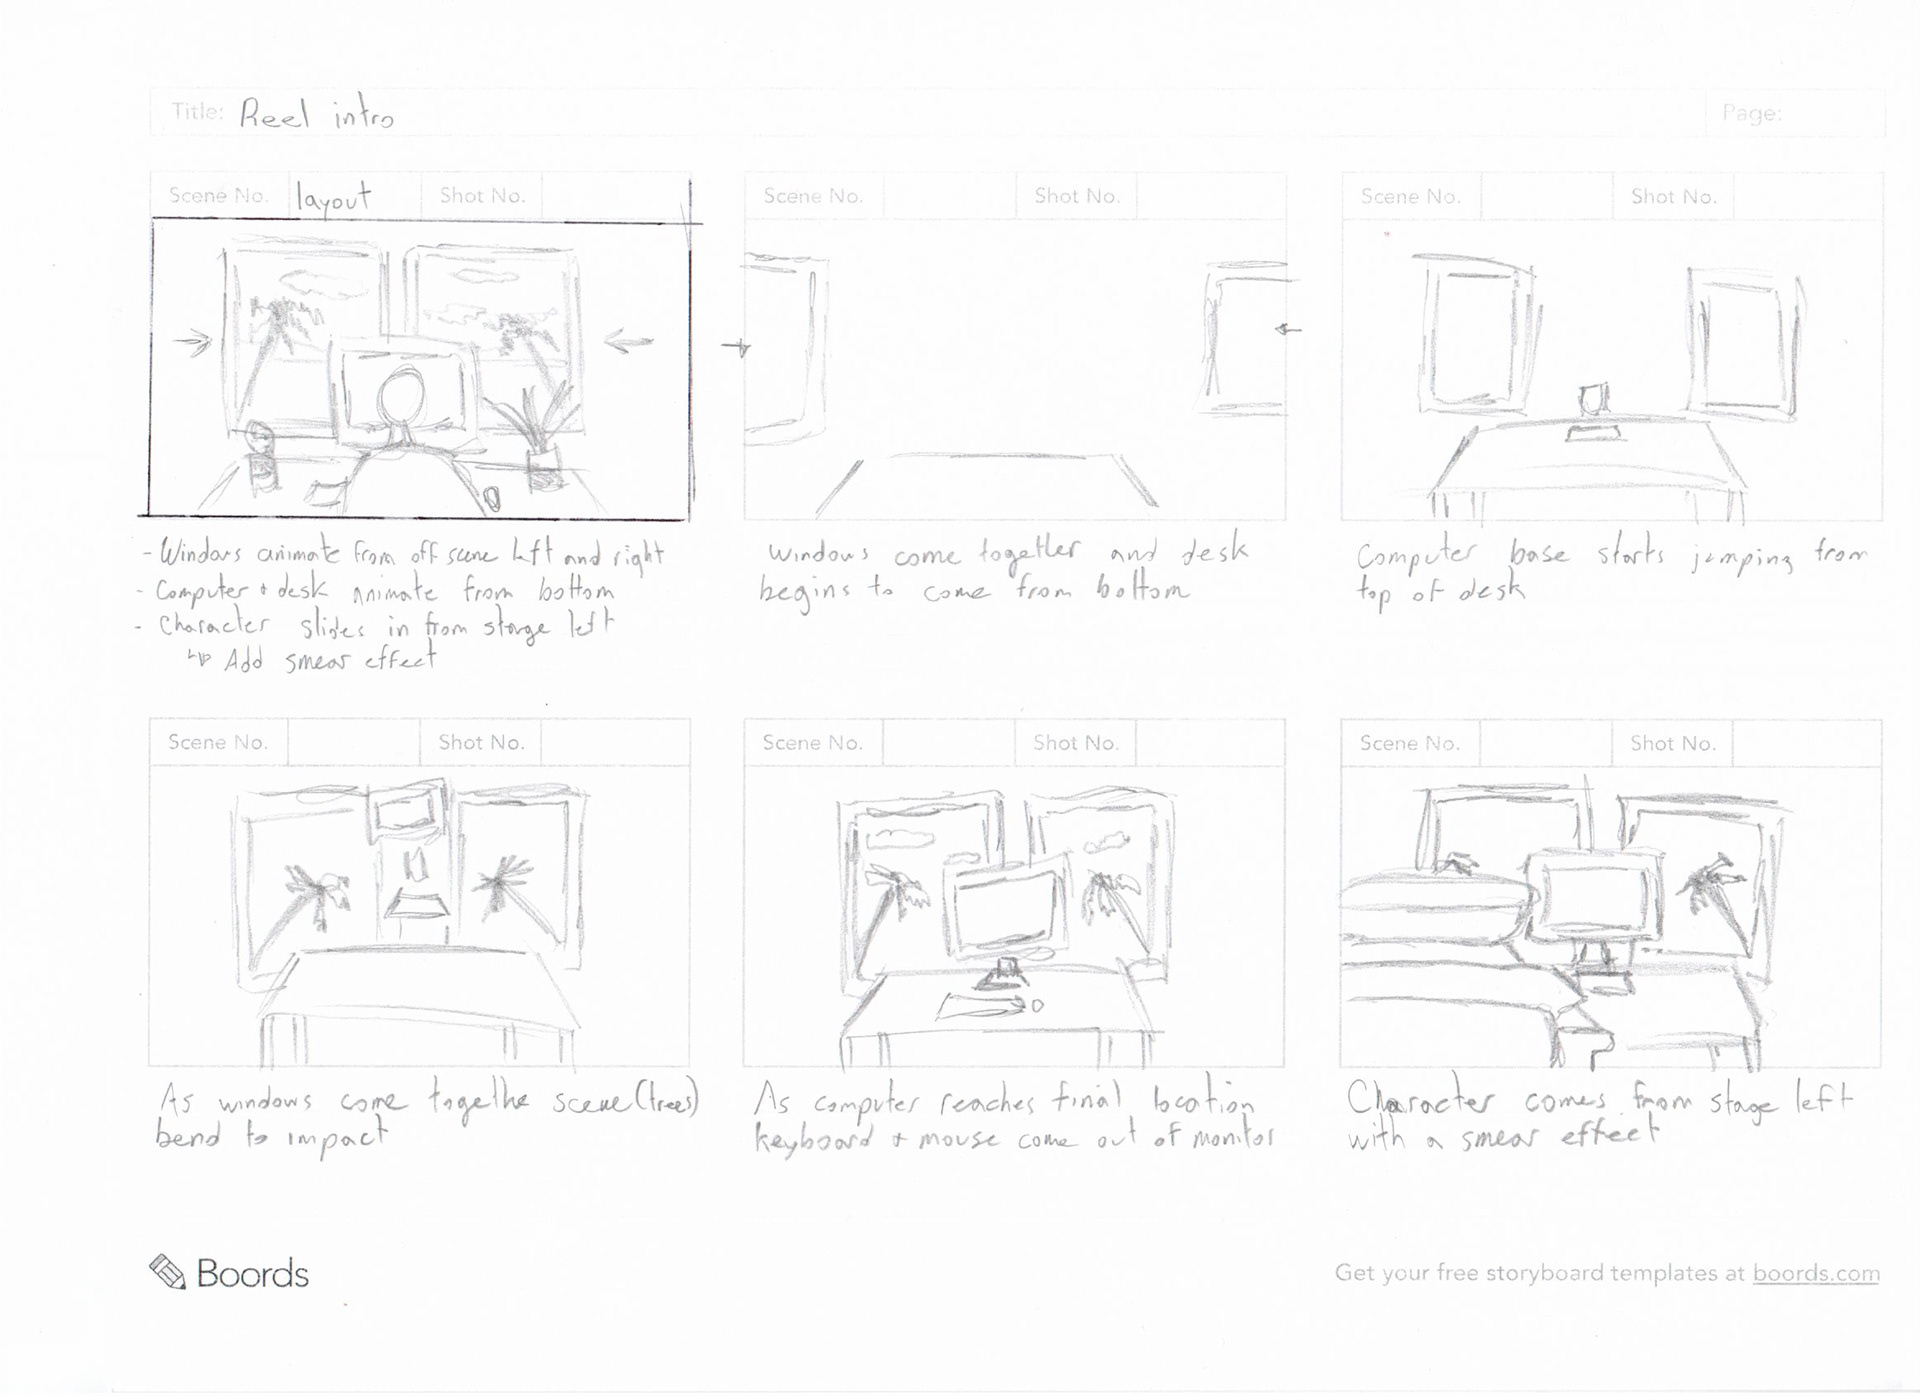
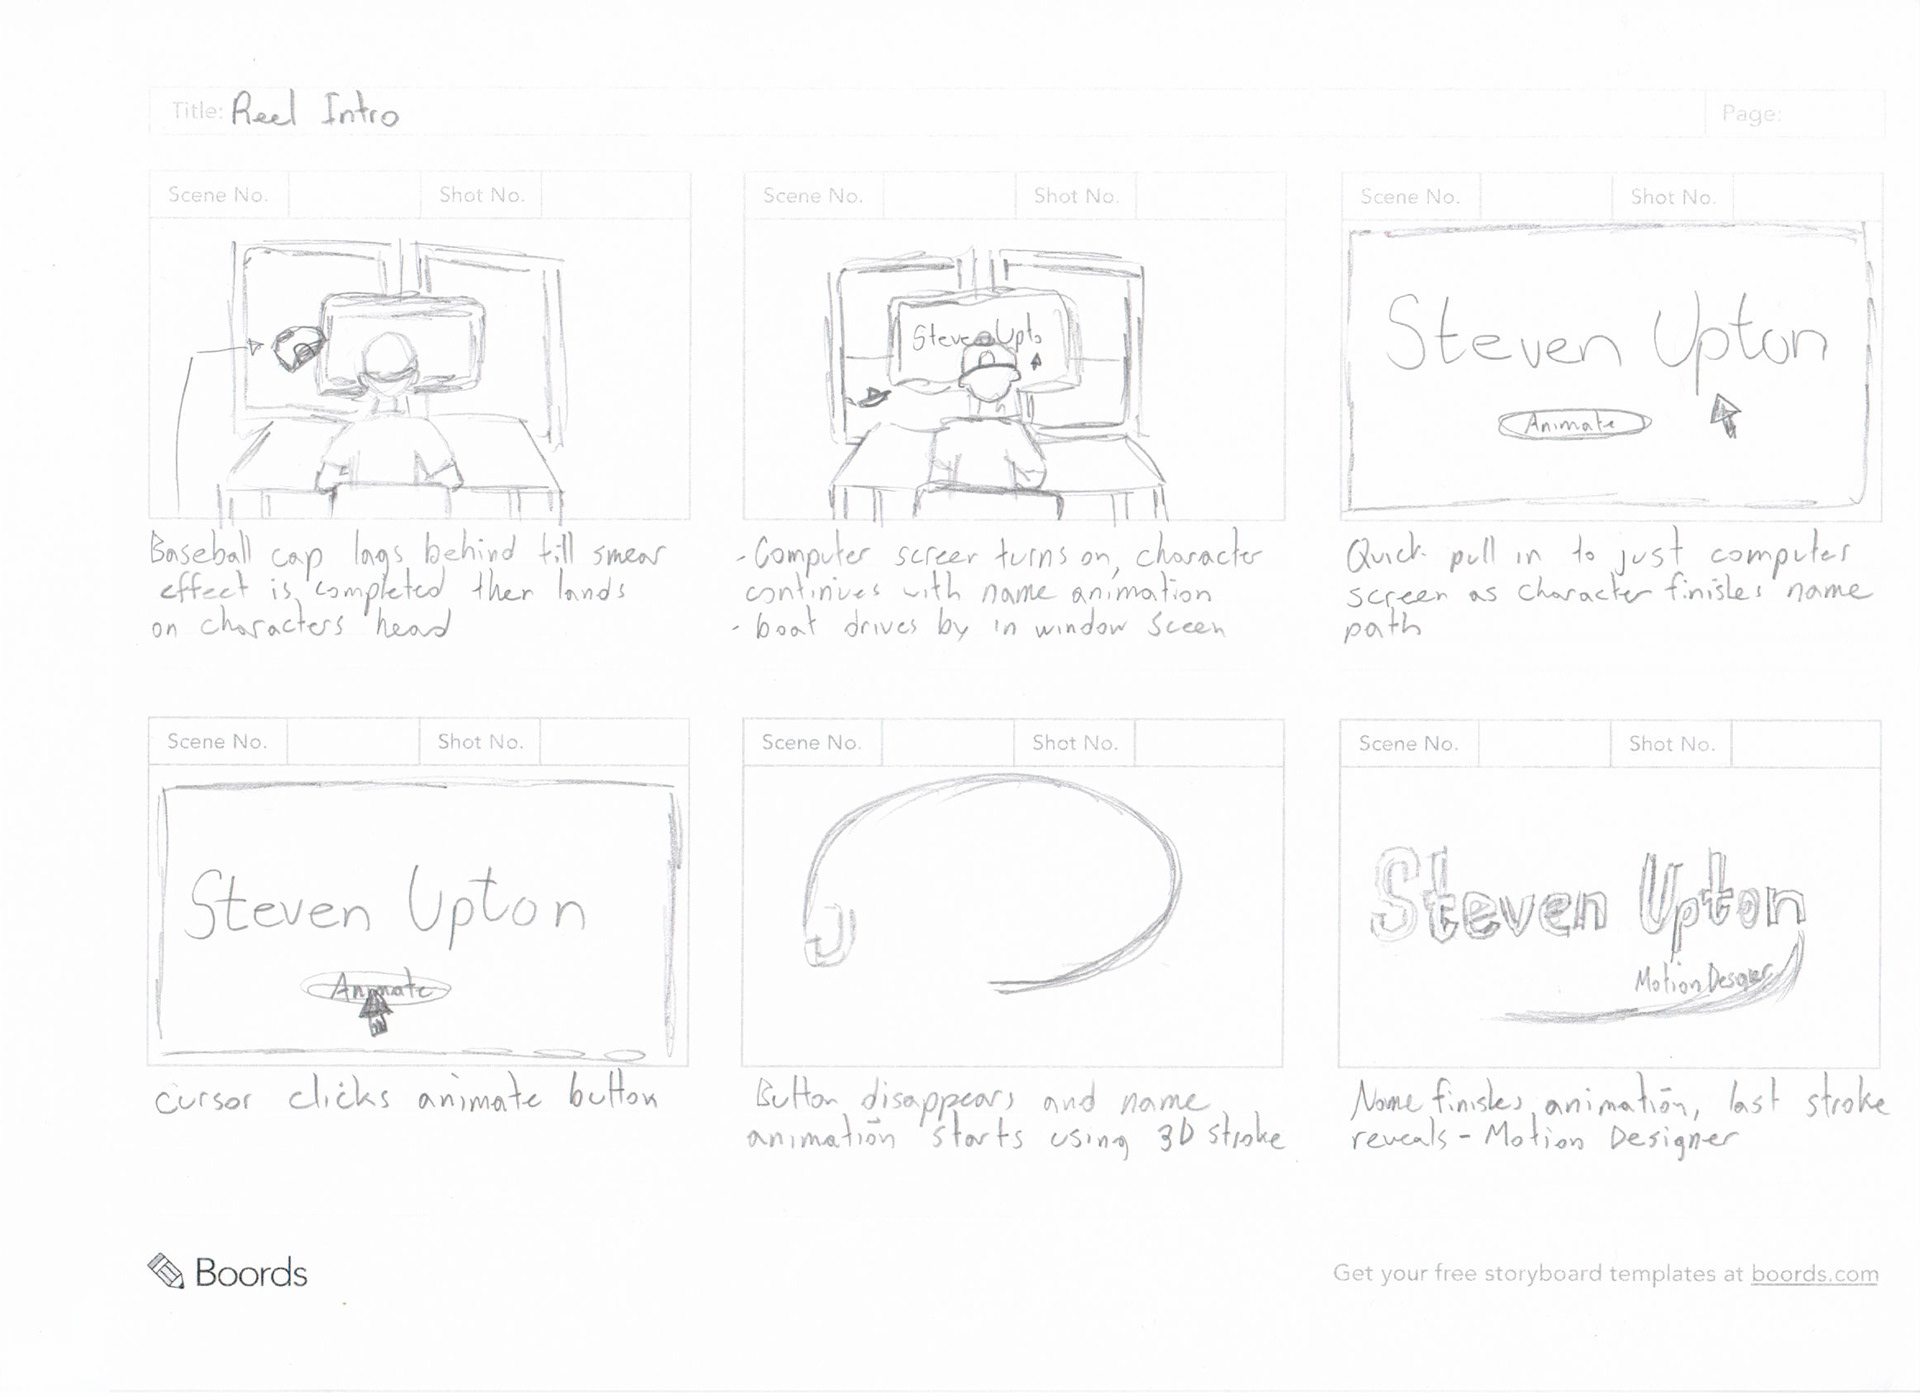
Rough Storyboards
Before diving into After Effects or Cinema 4D, I always start with rough sketches. This allows me to see what the animation will look like in a short period of time. I may create several storyboards before diving into the software.
Animatic
After deciding on the final storyboard, I usually create an animatic where I clean up my rough storyboards in Adobe Animate, where I can easily do this using a drawing tablet. Because this was a personal project, I skipped this step and went onto creating the style frames.
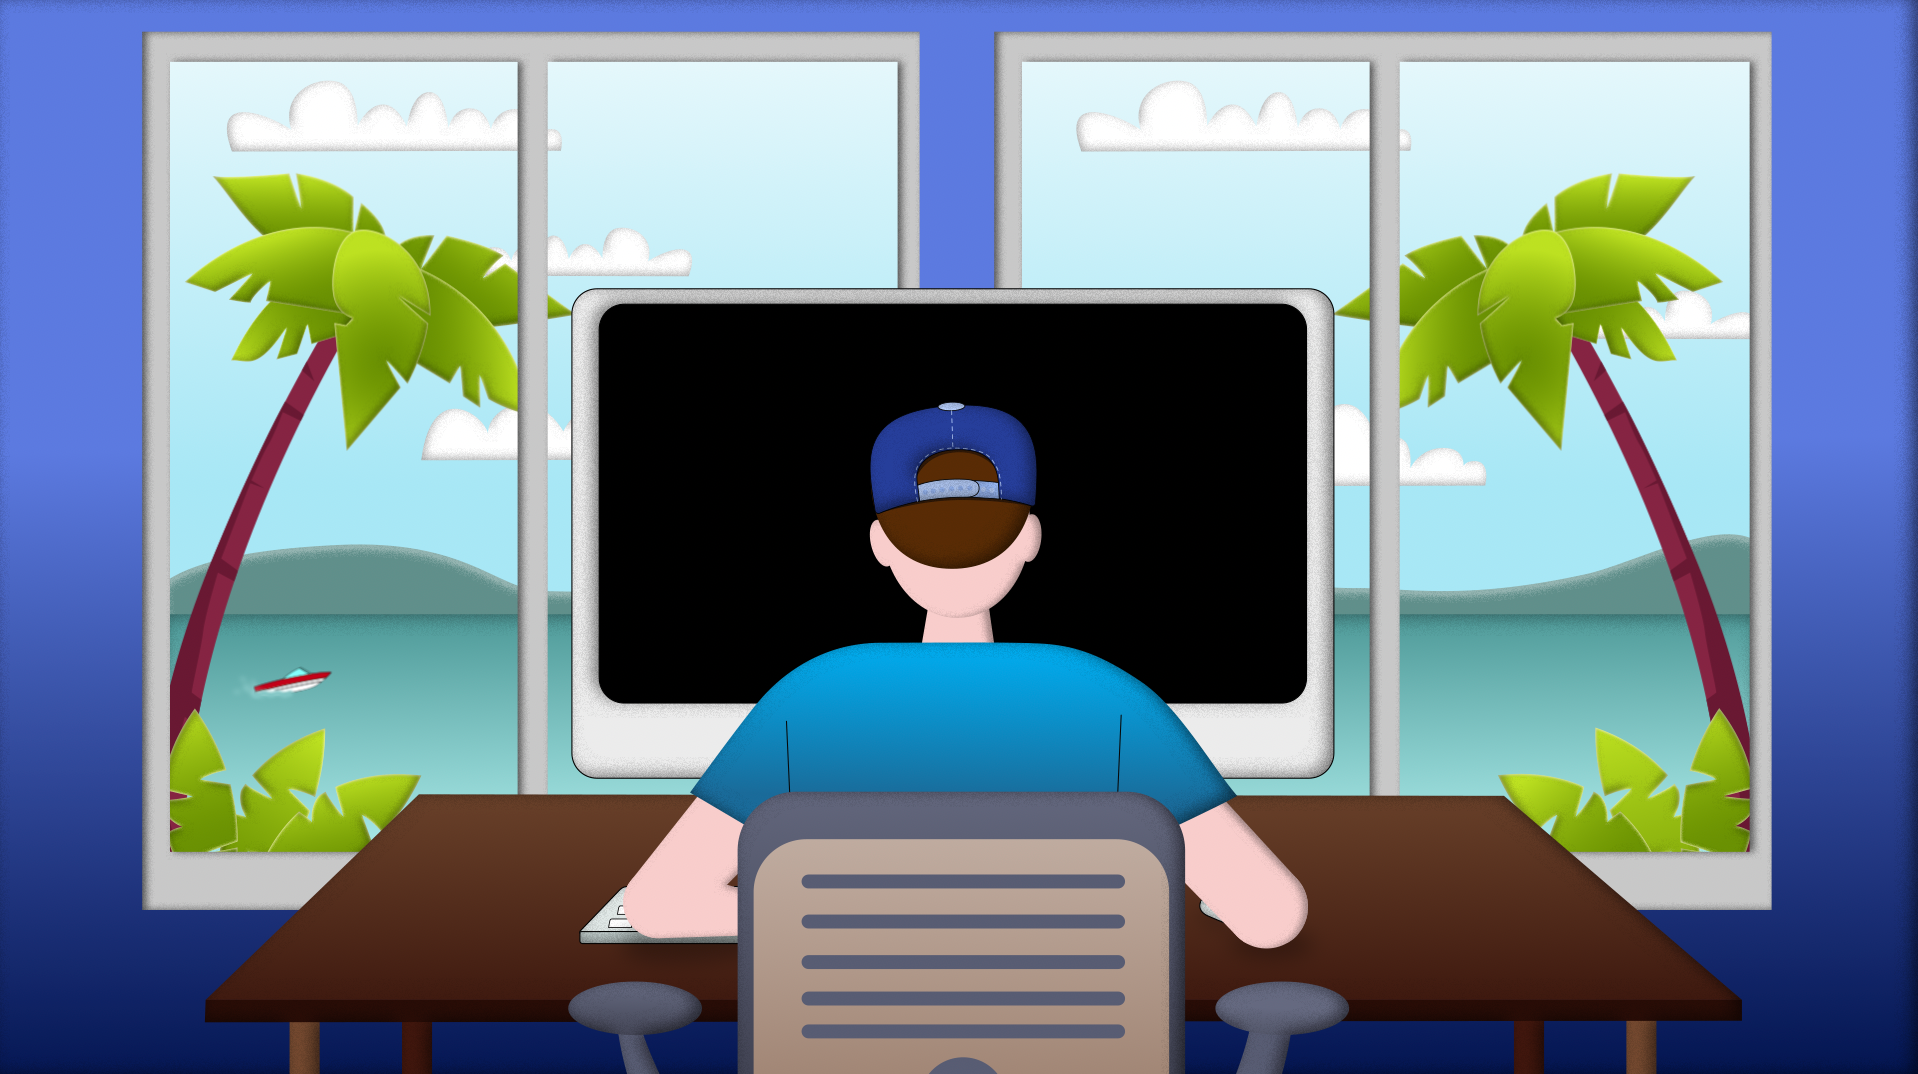
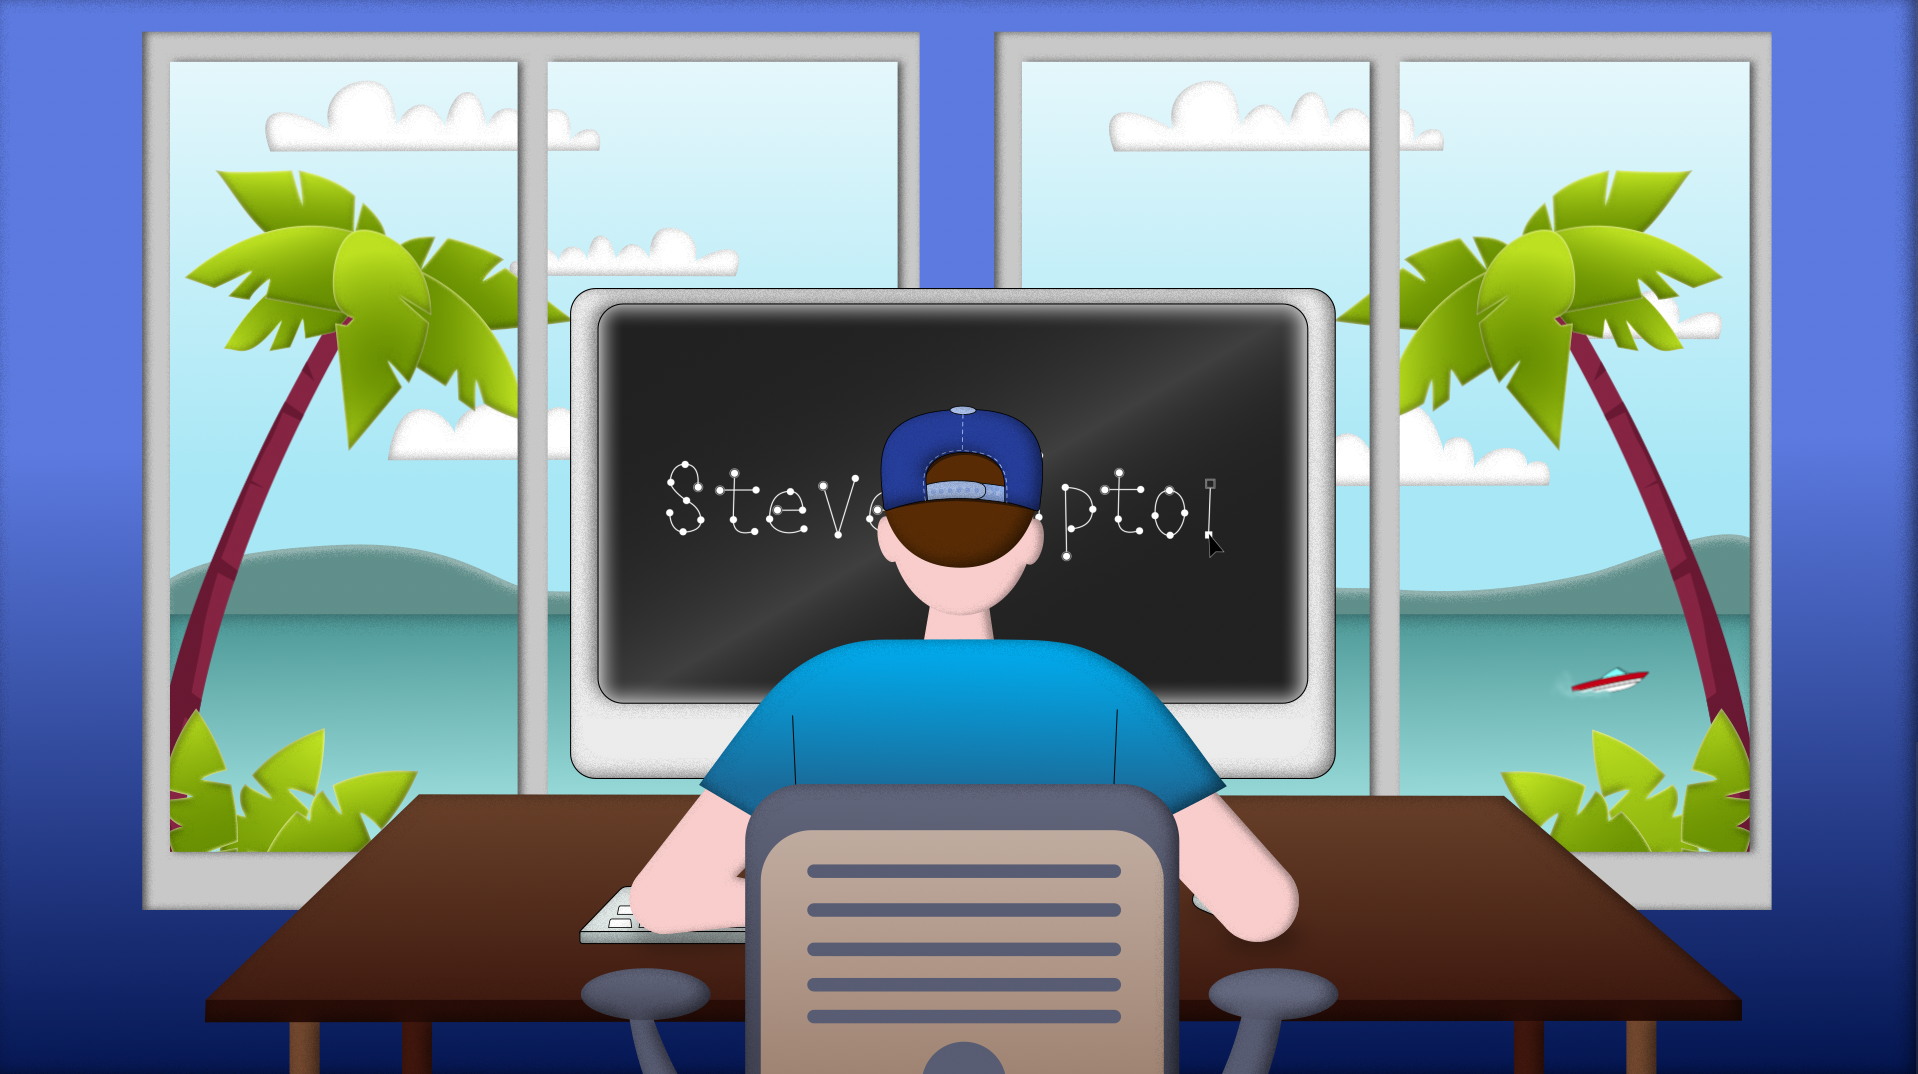
Style Frames
The next step, I use Adobe Illustrator or Photoshop to create style frames based on my cleaned-up storyboards. There may be multiple style frames for each scene, depending on the complexity of the project.

Rough Animation
Now is the time to open After Effects or Cinema 4D and roughly time out the animation. This is where I check to see if the pacing is correct or if the animation will work properly with a voice over or music track. This is where I get a better idea of how the animation will flow and how the final product will look.
Final Animation
It is at this stage that the real work of bringing everything to life begins. Multiple animation passes are completed to reach the final stage. The complexity of the project, the budget, and client's feedback all factor into the appropriate number of passes. I wish I could say I had an unlimited time budget for this project but unfortunately I did not. This piece resulted with only two full passes.